
We all have a different occasion where we want to dress amazingly best and we go to our cupboard to find the right bra and we don’t find one that suits our outfit.
We all have seen how celebrities express themselves with no bra one and we think how could we do the same.
For women with bigger breast sizes, the problem with sleeveless, open back, and empty shouldered dresses are that the bra straps are visible and that can ruin your look and the appearance of the outfit. There is a simple solution to get rid of this problem – taping your breasts.
Boob tape has become a game-changer in the world of lingerie and fashion, offering a versatile solution for wearing outfits that traditional bras can’t accommodate. Whether you’re sporting a backless dress, a plunging neckline, or a strapless top, boob tape can provide the support and shape you need.
This comprehensive guide will walk you through everything you need to know about using boob tape effectively and safely.
What is Boob Tape?
Boob tape is an adhesive strip of fabric designed to hold your breasts in place without the need for a traditional bra. It provides a customizable way to achieve the lift, shape, and support you want, regardless of your outfit.
They are a great alternative if you don’t want to wear a bra but still want a great-looking cleavage for your awesome dress for that party you will be attending. Boob tape is typically made from medical-grade, hypoallergenic, moisture-resistant, and breathable materials, making it safe for use on the skin.
Benefits of Boob Tape

- Versatility: Suitable for a wide range of outfits including backless, strapless, and plunging necklines.
- Customization: Allows for personalized shaping and support.
- Comfort: Breathable and moisture-resistant, making it comfortable for extended wear.
Different Types of Boob Tape
So there are certain types of tape for your boobs. There is a surgical tape, also known as medical tape that can be used but the adhesiveness is weak to hold your boobs for longer and sweaty nights.
There is also sports strapping tape that is used by sportspeople to stretch their muscle. This is also a good option to choose as they are designed to be used on the skin.
Then there are some women who also use duct tape. It is a strong tape and has a strong adhesive nature which in turn causes skin damage. Some women have sensitive skin and using a strong tape could obviously hamper their sensitive skin while removing it. Duct tape is designed for construction
Now we have Gaffer tape. Gaffer tape is used by many celebrities and women around the world to give their busts a good shape. It has a stronghold that won’t get off for long hours and will give you the most of the support for your breast. It will hurt to some extent while removing but using oils can help keep it safe and simple to remove.
Preparing Your Skin
Patch Test
If you have an allergic reaction to the glue, you should certainly make a patch test for it. Cut a small piece of tape and place it on a discreet area of your breast or the inside of your arm. Leave it on for 24 hours and check for any irritation or allergic reaction. If your skin reacts negatively, do not use the tape.
Skin Preparation
For the tape to adhere properly, your skin must be clean and dry. Follow these steps to prepare your skin:
- Clean Your Skin: Use soap and water to remove any oils, lotions, or sweat.
- Avoid Lotions and Oils: Do not apply any moisturizers, oils, or powders before applying the tape.
- Use Rubbing Alcohol: Use rubbing alcohol to further cleanse the skin and remove any residual oils.
Essential Tools
Before you start taping, gather these essential items:
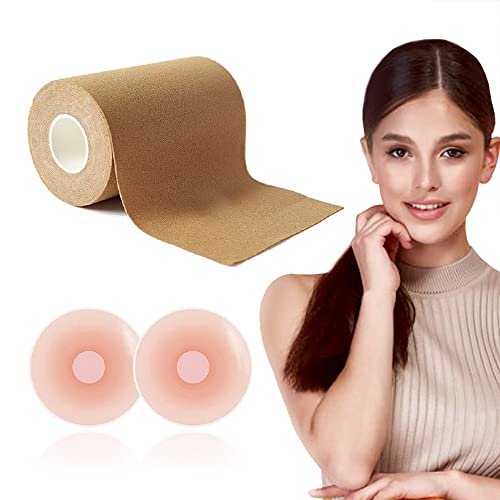
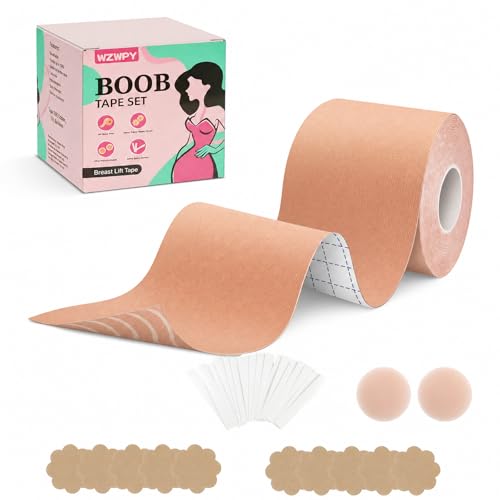
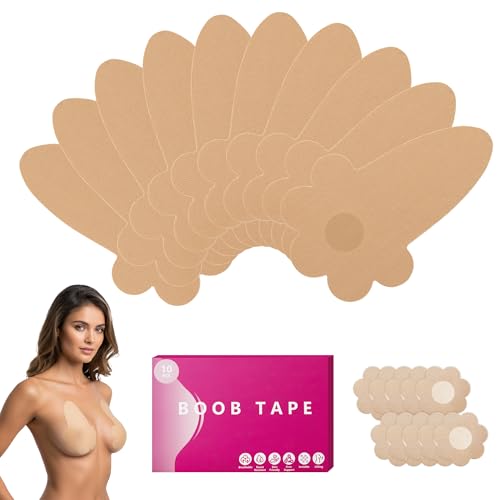
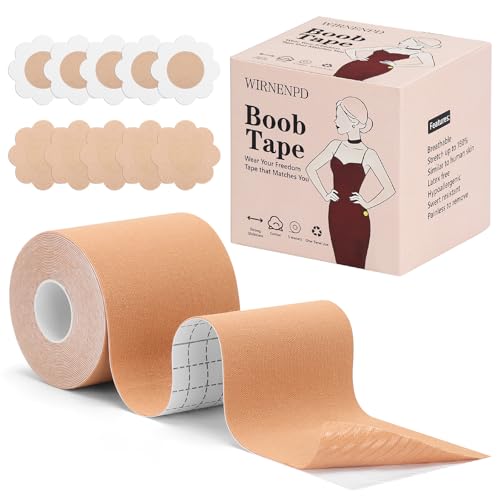
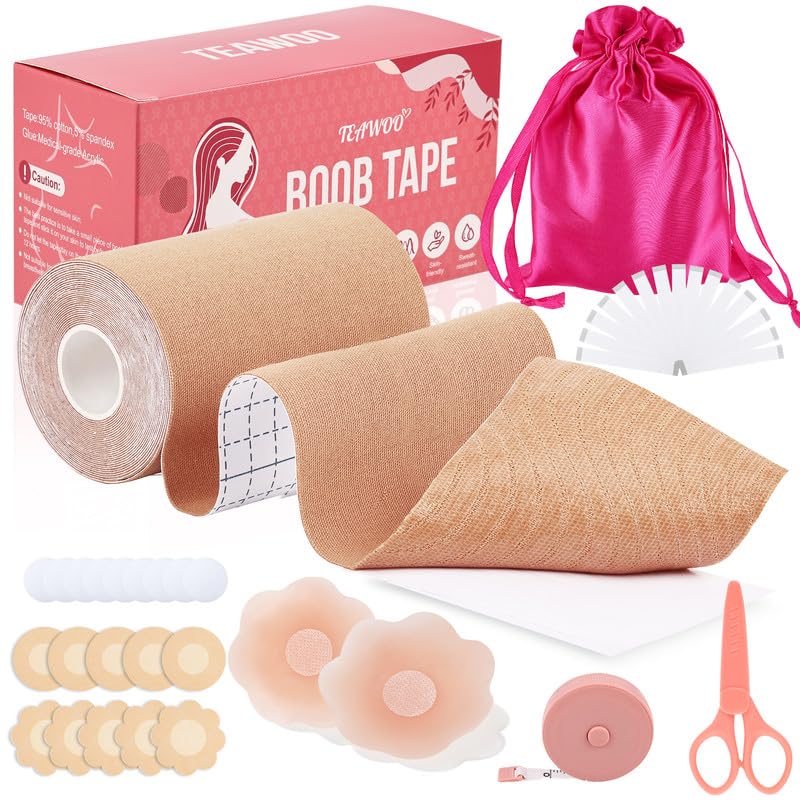
- Boob tape
- Professional Grade Material – The Cindy’s Tape Breast tape uses anti-allergic bio-adhesive material instead of ordinary Medical Grade glue and is made of high-quality 95% cotton and 5% spandex, very…
- Optimize Breast & Body Curve – Optimize Breast & Body Curve: The perfect cooperation of Cindy’s Tape’s strong adhesive boobs tape and invisible nipple covers can lift your chest naturally and make…
- Strong Adhesive & Sweat-Resistant – There are medical-grade adhesives on the inside of the boob tape and chest stickers, which can be attached to the skin tightly and prevent accidental slippage…
- Nipple covers
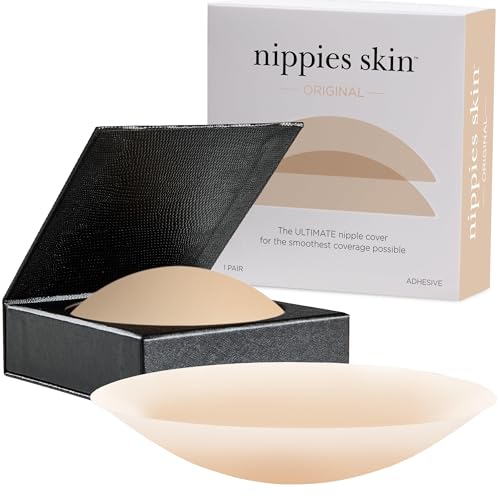
- BREAK FREE FROM BRAS! – Replace uncomfortable bras with our silicone nipple cover. Comfortable and supportive, it conceals the areola and breast, creating a smooth finish to wear with a backless…
- STAY ON ALL DAY – Hitting the gym in a sports bra? Or the dance floor of a club in sheer fabric? The sticky nipple covers for women will stay in place no matter the activity. Consistently proven to…
- YOU’LL FORGET YOU’RE WEARING THEM – Made to accommodate small or large cup sizes, the silicone pasties are virtually invisible. Designed to match skin tone and complexion without being…
- Scissors
- Mirror
Step-by-Step Guide to Applying Boob Tape

Step 1: Apply Nipple Covers
Protect your sensitive nipple area by using nipple covers. These can be store-bought or improvised with cotton pads or gauze.
Step 2: Measure and Cut the Tape
Determine the length of tape you need by measuring from the bottom of your breast to the desired height on your chest. Cut several strips of tape accordingly. The number of strips you need will depend on your breast size and the support you require.
Step 3: Application Techniques
For Strapless Dresses
- Start at the Base: Begin at the base of your breast and apply the tape upward.
- Create a Strapless Effect: Use additional strips to secure the sides of your breasts, creating a strapless bra effect.
- Smooth and Secure: Ensure the tape is smooth and securely in place.

For Backless Dresses
- Measure and Cut: Cut a piece of tape long enough to reach from your shoulder to the bottom of your breast.
- Lift and Secure: Lift your breast and apply the tape from the base, wrapping it over your shoulder.
- Even Application: Repeat on the other side, ensuring both sides are even and secure.
For Plunging Necklines
- Base to Clavicle: Start with a strip of tape from the base of your breast to the top, near your clavicle.
- Supportive Cup: Apply additional strips horizontally across your breast to create a supportive cup.
- Conceal the Tape: Ensure the tape remains hidden under your dress.
For Asymmetrical Tops
- Outer Edge Application: Apply the tape starting from the outer edge of your breast, moving inward.
- Sculpt and Lift: Use multiple strips to sculpt and lift your breast into the desired position.
- Visibility Check: Make sure the tape is not visible in your outfit.
Creating Cleavage
- Inward Pull: Apply tape from the outer edge of each breast, pulling them inward.
- Center Secure: Secure the tape in the center, creating a pushed-together cleavage effect.
- Additional Support: Use additional strips to ensure support and lift.
Handling Different Breast Sizes
Larger breasts may require more strips of tape and additional support. For smaller breasts, fewer strips will suffice. Adjust the number of strips and placement based on your comfort and the desired lift.
Removal of Boob Tape
To avoid irritation, remove the tape gently:
- Use Baby Oil or Adhesive Remover: Apply baby oil or an adhesive remover to the tape to loosen the adhesive.
- Peel Slowly: Peel the tape off slowly, starting from the top and working your way down.
- Clean Residue: Clean your skin with warm water and soap to remove any residue.
Common Mistakes and Troubleshooting

- Tape Visibility: Ensure the tape is well-hidden under your outfit by placing it strategically.
- Insufficient Support: Use additional strips and ensure they are applied tightly.
- Skin Irritation: Always do a patch test and use nipple covers to protect sensitive areas.
Top selling boob tape


FAQs
Can Pregnant or Lactating Women Use Boob Tape?
It’s generally not recommended for pregnant or lactating women to use boob tape due to the increased sensitivity and potential for skin irritation.
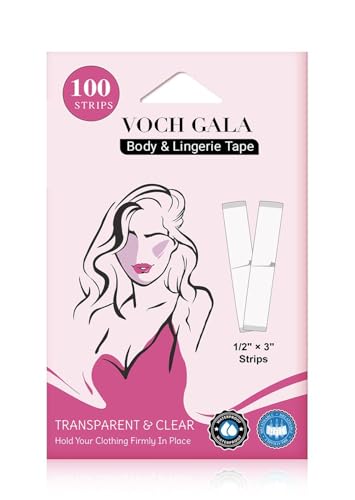
What are the Best Alternatives if You Don’t Have Boob Tape?
If you don’t have boob tape, you can use medical tape, athletic tape, or gaffer tape. However, always ensure these tapes are safe for skin use.
How to Ensure Boob Tape Sticks Properly?
- Clean and Dry Skin: Ensure your skin is clean and free of oils.
- Press Firmly: Apply the tape with firm pressure to ensure it adheres well.
- Avoid Stretching: Do not stretch the tape excessively as it may lose its adhesive properties.
How to Use Boob Tape for Added Lift and Support?
- Layering: Use multiple layers of tape to achieve the desired lift.
- Directional Application: Apply tape in different directions to provide comprehensive support.
Conclusion
Boob tape is a versatile and effective solution for achieving the perfect look with challenging outfits. By following this comprehensive guide, you can ensure a comfortable and secure fit, allowing you to wear your favorite styles with confidence. Remember to always prioritize your skin’s health and comfort by conducting patch tests and following proper application and removal techniques.


Leave a Comment